DNA Test Kit Instructions
Complete guide for collecting and returning your DNA sample using the SafeCollect Saliva Collection Kit.
Important: Register Your Kit First
Before collecting your sample, you must:
- Find your barcode - It's on a white label on the tube itself (not the cap or packaging)
- Register your kit - Link the barcode to your account so we can deliver your results
- Follow the collection steps - Complete the process outlined below
Before You Begin: 30-Minute Preparation
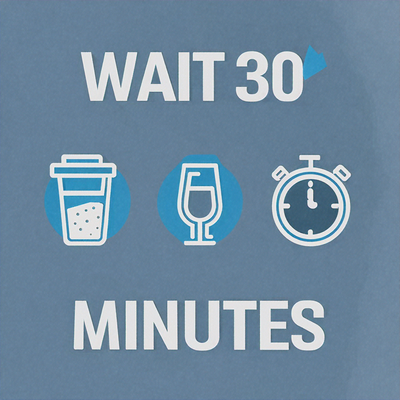
⏰ Required 30-Minute Waiting Period
To ensure accurate results, you must wait at least 30 minutes after:
- Eating any food or snacks
- Drinking anything (including water)
- Smoking or using tobacco products
- Chewing gum or mints
- Brushing teeth or using mouthwash
Why the wait?
Food particles, drinks, and oral care products can contaminate your saliva sample and may cause your test to fail.
Purpose: Your saliva sample will be used for genetic genealogy research to help connect African diaspora families.
Best time to collect:
- First thing in the morning (before breakfast)
- Before lunch (if you ate breakfast early)
- At least 30 minutes after any meal
What's In Your Kit
Your SafeCollect DNA kit contains everything needed for sample collection:
How your kit looks when first opened:
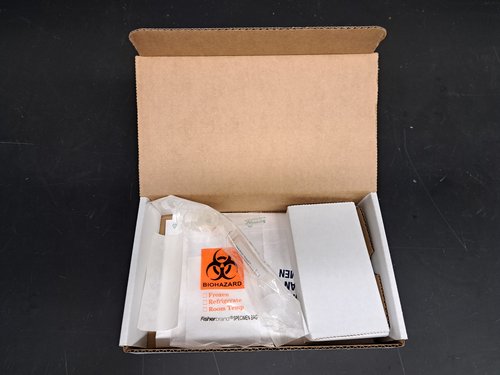
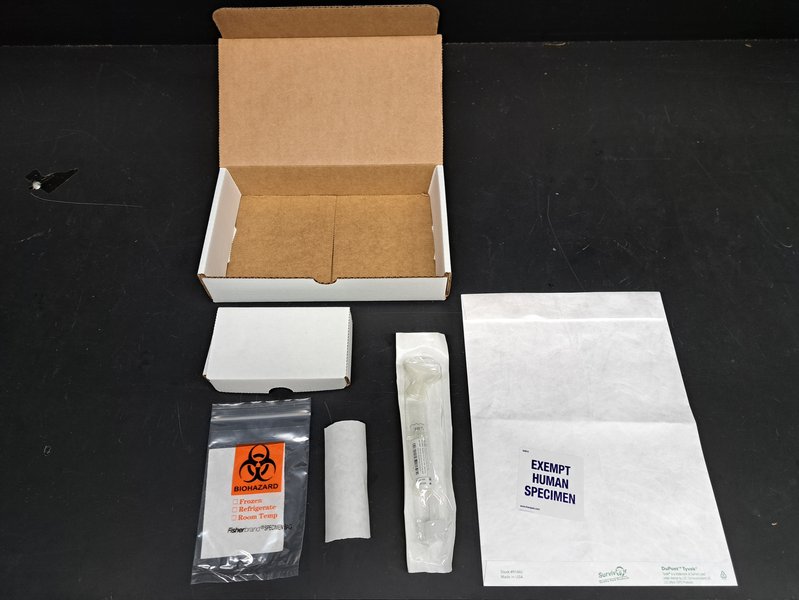
Kit Components:
SafeCollect Collection Kit
Complete saliva collection system containing three components: a clear collection tube (0.75 in × 4.3 in) pre-filled with 2mL of DNA/RNA Shield™ preservative solution, a funnel attachment for easy sample collection, and a special cap with piercing mechanism. The kit keeps your genetic material stable at room temperature.
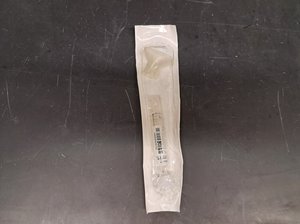
Items in the SafeCollect Collection Kit:
Collection Tube
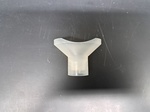
Funnel Attachment
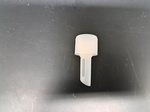
Tube Cap
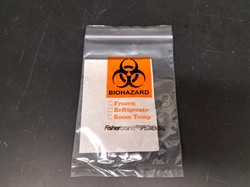
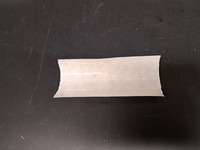
Biohazard Specimen Transport Bag with Absorbent
Clear plastic biohazard specimen transport bag (4 in × 6 in) with absorbent strip (3 in × 4 in). This secondary packaging provides leak protection and meets regulatory requirements for shipping human specimens.
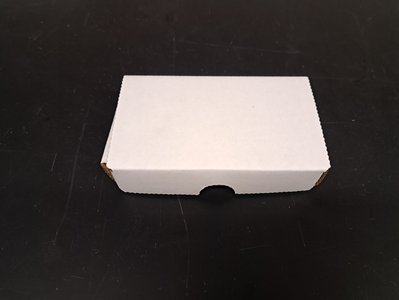
Small Return Box
Small white cardboard box (5 in × 3 in × 1 in) for returning your sample. This rigid outer packaging protects your saliva during shipping and meets regulatory requirements.
Tamper-Proof Stickers
Clear adhesive tamper-proof stickers for sealing the small box. These security seals ensure your sample remains protected and unopened during shipping.
Return Envelope
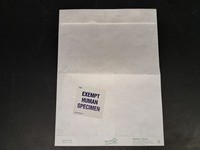
Postage pre-paid return envelope with "Exempt Human Specimen" label on the back for sending your sample back to the laboratory.
Collection Steps
Follow these 5 simple steps to collect your DNA sample:
Prepare for Collection
Check that you have not eaten, drunk, smoked, chewed gum, or brushed your teeth for at least 30 minutes. Wash your hands with soap and water. Find a clean, flat surface to work on.
Position the Funnel
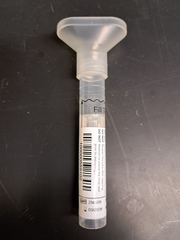
Hold the collection tube vertically. Attach the funnel firmly to the top of the tube. Make sure the funnel is seated tightly to prevent leaks.
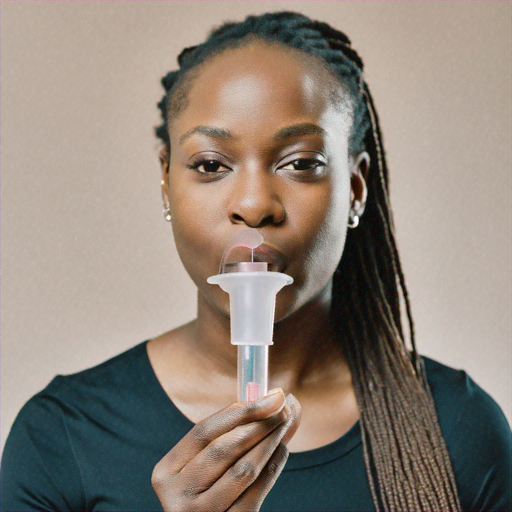
Collect Saliva Sample
Spit saliva into the funnel repeatedly. Continue until the liquid saliva (not foam or bubbles) reaches the fill line marked on the tube. This typically takes 2-5 minutes. Do not include bubbles in your measurement.
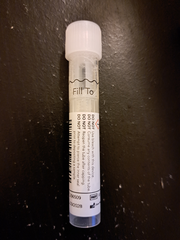
Secure the Cap
Remove the funnel by holding the tube vertically and twisting it off. Discard the funnel. Hold the tube vertically and firmly press the cap down, then turn it clockwise until you hear it click. The liquid that stabilizes your DNA in the saliva will be released.
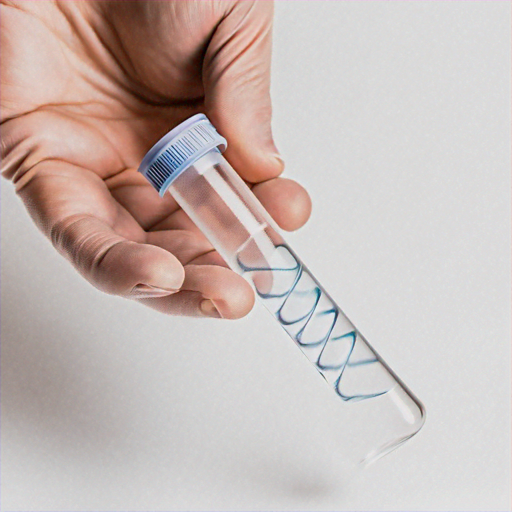
Mix the Sample
Shake the closed tube vigorously at least 10 times. Your sample is now stabilized and preserved.
Collection Complete!
Once you've completed all 5 steps, your sample is ready to return. Make sure you've registered your kit before shipping.
Return Shipping Instructions
Follow these steps to safely return your sample to our lab:
Prepare Your Sample Tube
Ensure your collection tube is properly sealed and the cap is tightly closed.
Place in Biohazard Bag with Absorbent
Place the sealed collection tube into the clear plastic biohazard specimen transport bag (4 in × 6 in) along with the absorbent strip. This secondary packaging meets regulatory requirements for shipping exempt human specimens.
- Insert the tube into the clear biohazard specimen bag
- Place the white absorbent strip (3 in × 4 in) alongside the tube in the bag
- Press the seal strip firmly to close the biohazard bag completely
Place in Small Return Box
Put the sealed biohazard bag (containing your tube and absorbent) into the small white cardboard box (5 in × 3 in × 1 in). This rigid outer packaging completes the triple-packaging system required for specimen transport.
- Place the biohazard bag in the box
- Close the box flaps
- Use one of the clear adhesive seals provided to secure the box closed
Seal in Prepaid Return Envelope
Place the small box containing your sample into the prepaid FedEx return envelope (6 in × 9 in) provided with your kit. This envelope has an "Exempt Human Specimen" label for proper handling.
- Insert the box into the FedEx envelope
- Remove the adhesive strip cover
- Press firmly to seal the envelope completely
- Verify the shipping address and "Exempt Human Specimen" label are visible
Schedule FedEx Pickup
Call FedEx to schedule a pickup or drop off your package at any FedEx location.
Schedule Pickup
- Call FedEx at 1-800-GoFedEx (1-800-463-3339)
- Say "Schedule a Pickup"
- Provide your address
- Package will be picked up next business day
Drop Off Options
- FedEx Office locations
- FedEx Ship Centers
- FedEx Drop Boxes
- Find locations at fedex.com/locate
Track Your Sample
Keep your FedEx tracking number from the envelope for your records. You'll receive an email confirmation when we receive your sample at the lab.
Expected delivery to lab: 2-5 business days after shipping
What Happens Next
- Sample Received 3-5 days
- DNA Extraction 1-2 weeks
- Quality Check 2-3 days
- Analysis Begins Ongoing
- Results Available 6-8 weeks
Troubleshooting
Need Help?
- Email: contact@takir.org
- FAQ: Frequently Asked Questions
